Setting up personalization
Please make sure you've setup your first segment. A segment is a group of visitors for which you want to personalize the website experience.
If you have done that we can go to the next step and personalize the experience.
Applying personalization
You can apply personalization in two ways:
- On a specific page
- Via the personalization section
Personalizing a specific page
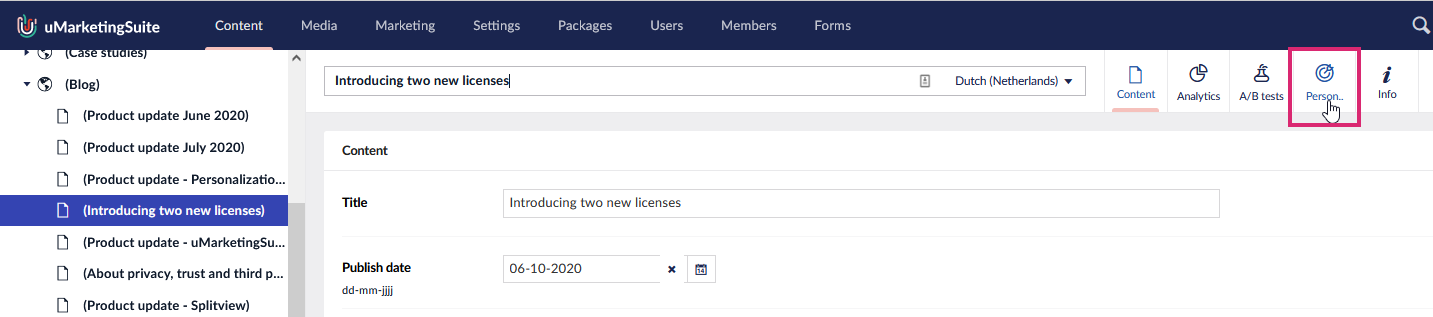
To personalizate a specific page you can go the any node within Umbraco. When you open the node you'll find all uMarketingSuite content apps on that specific node. To personalize the page you can go to the "Personalization" content app:
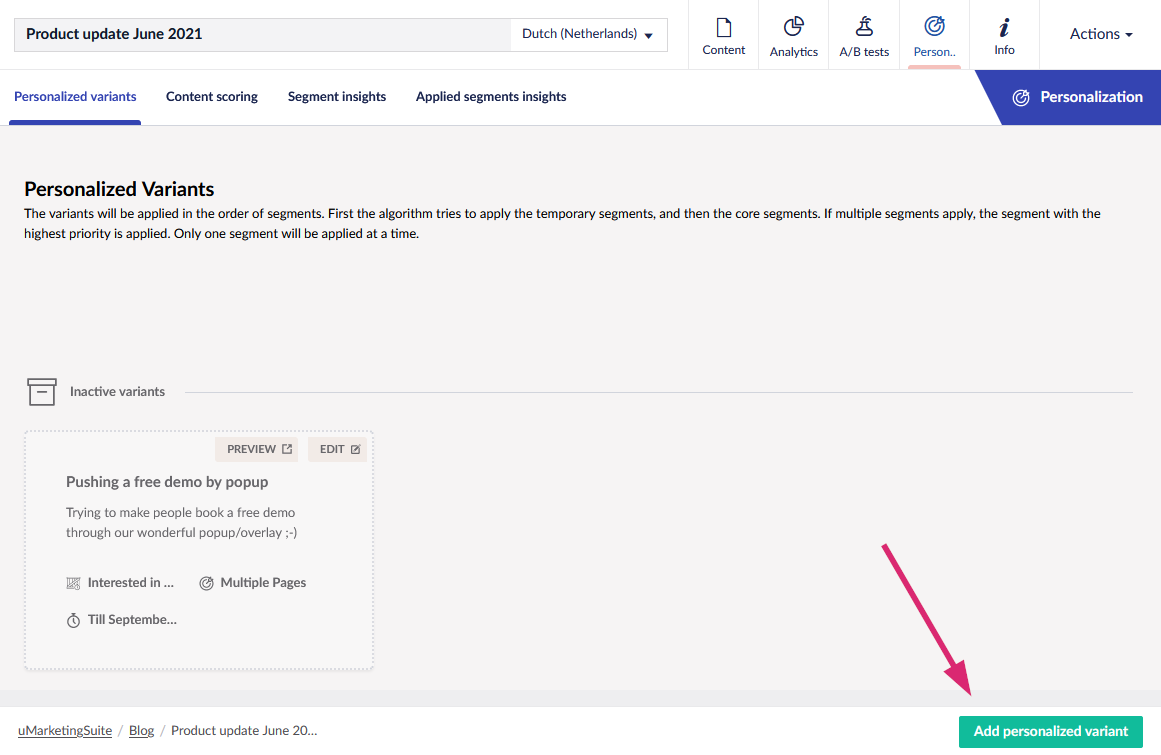
By clicking on the content app you go to an overview of all applied personalization's for this specific page. You can create your first personalization by clicking "Add personalized variant":
In the popup you can specify the segment for which you want to personalize the experience. It also advised to create a descriptive name for the personalization and a short description:

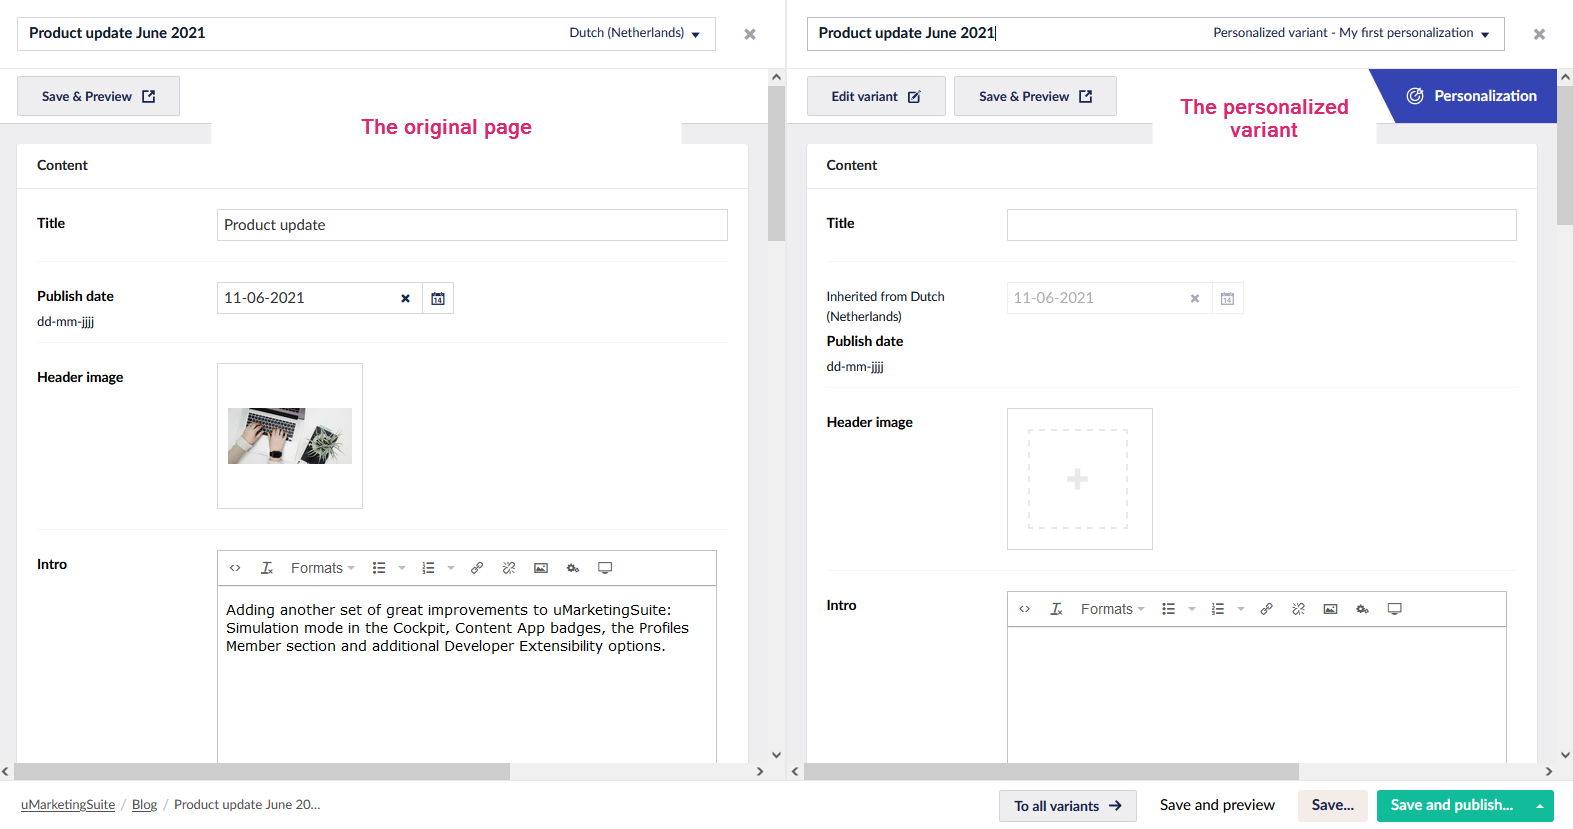
When you've selected the correct segment you can click on "Add variant". This will open up the splitview editor with on the left side the original page and on the right side the option to create a personalized variant.
Depending on your segmentation setup of the document types you can edit the specific properties of your document type. Please read the section "Setting up the document type for splitview editing" to set this up correctly.
You can for example specify a different title for this variant:

You can save & preview your applied personalization by clicking "Save & Preview".
You will see an extra querystring parameter in the url when previewing the personalization:
https://<your url>/?umsPreviewAppliedPersonalization=<id>
This is only the case when previewing your personalization. As soon as you publish the page regular visitors will only see one url an depending on the segment they will see different content.
If we now publish the website and go to the url we will see different pages. The visitors who are part of the segment will see the personalized variant. All other visitors will see the default content!
Et voila; we've setup our first personalization!
Applying personalization to multiple pages or per document type
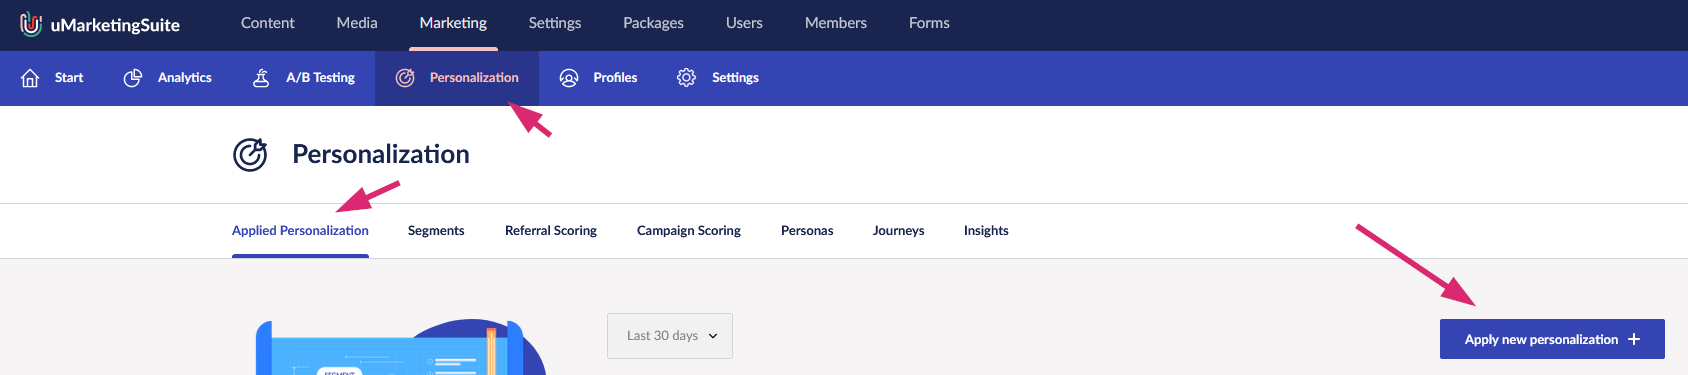
You can also apply personalization to multiple pages at once. This can only be setup via the Marketing section in Umbraco. Within that section you can go to the subsection "Personalization" and click on "Apply new personalization":
Here you can specify to which pages or document types you want to apply the personalization. Also you need to specify for which segment this is triggered.
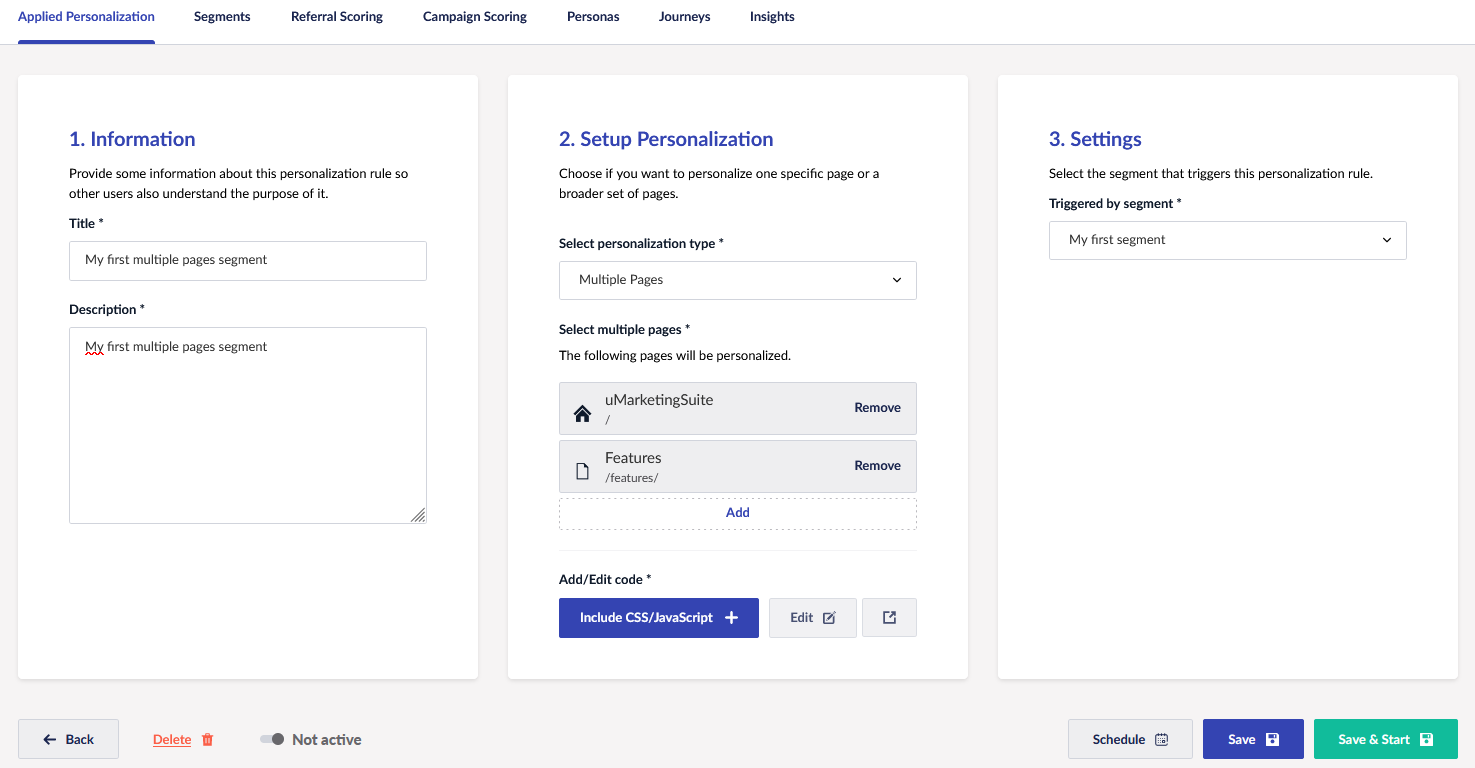
With multiple pages and document types you can either add in some additional CSS or JavaScript code or personalize the experience via code. You can add CSS and JavaScript via the button "Include CSS/JavaScript". The CSS and JavaScript will automatically be added to the pages where the segment applies.